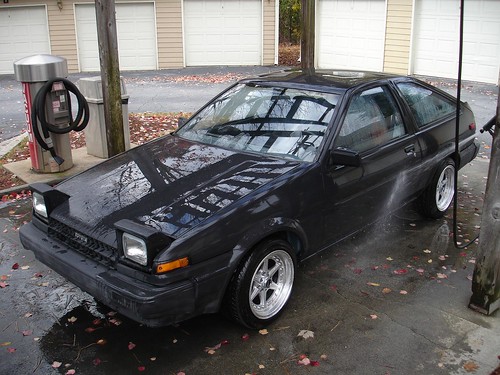
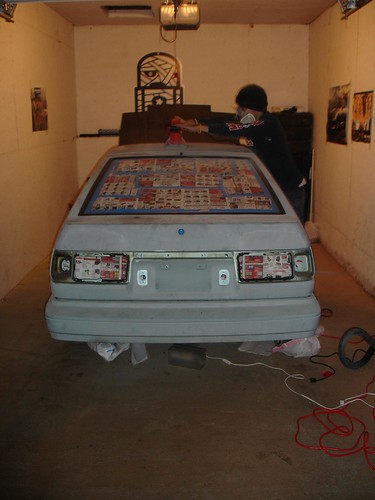
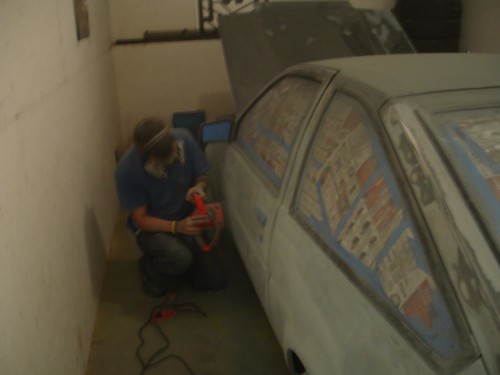
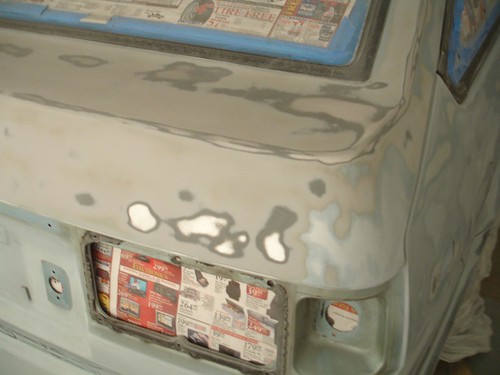
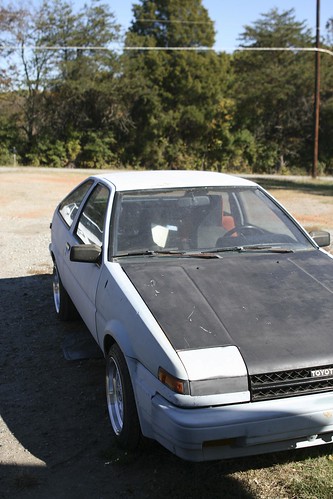
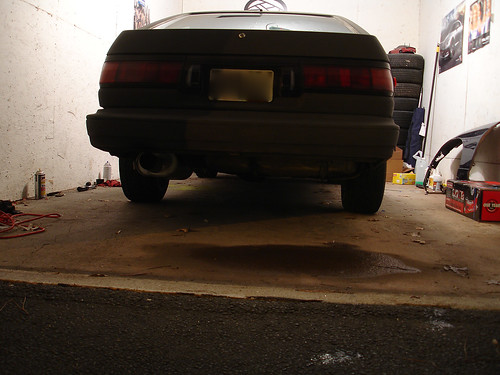
Shawn's car, under construction...


(Engine shot taken by Treefish)
Went to Shawn's today to kill some time and to fix a few little things here and there. There's a bunch of little things here and there that needed to be fixed on the car.
Done in 4 hours:
- ate at zaxby's
- went to autozone
- brake booster vac line leak
- intake box replaced with new autozone special intake
- valve cover tightened down
- turn signals all fixed
- tow hook near exhaust cut off
- tightened down radiator (attempted.. with zipties)
- swapped s14 seats for s13 seats
Vac Leak
First off there was a idle problem, found a problem in the brake booster hose line; it kept coming undone, apparently whoever did the swap used a bigger hose and it was preventing the hoseline from being holstered properly in place. Shawn's dad hooked it up with some hoseline and I got it made!
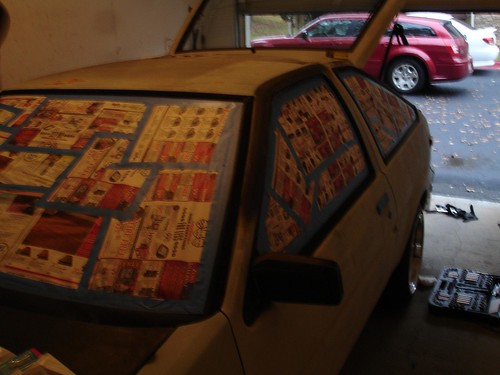
Intake
The intake box was totally ghetto rigged, there was a usage of packing strap on the intake box and it was halfway missing, so we replaced it with an autozone store special intake....which is nothing more than an APC intake LOLOLOL. Added at least 2000 whp, going to the dyno soon to check my numbers.
Valve Cover
WTF? I saw a loose bolt on the valve cover and tightened it down, then Shawn went around to re-tighten all of the bolts and yeah....none of them were really tight, awesome isn't it?
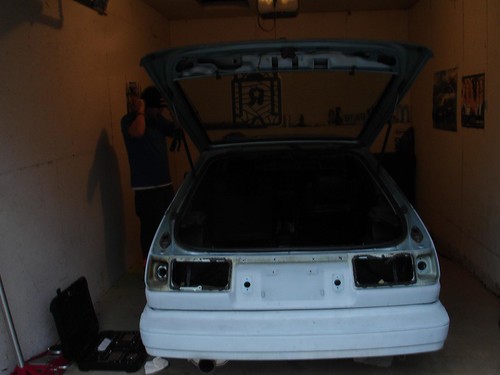
Turn Signals
I was wondering why my turn signals weren't working. I thought it was just the bulbs, took the housing out and they weren't even wired!!! LOL? I fixed that..the driver side turn signal was being a bitch, but I swapped my clear corners for Shawn's amber ones and they seemed to work fine after that. Guess they didn't like being clear.
Tow Hook
The tow hook was making an annoying noise on the exhaust everytime you start the car up or move, so something had to be done, we jacked the car up and Shawn cut the tow hook bracket right above the exhaust, and wow, it's a million times better now.
Radiator
Didn't quite fix it but we added a ziptie to temporarily hold down the radiator support. There's no fan shroud in my engine bay and I need to source one soon.
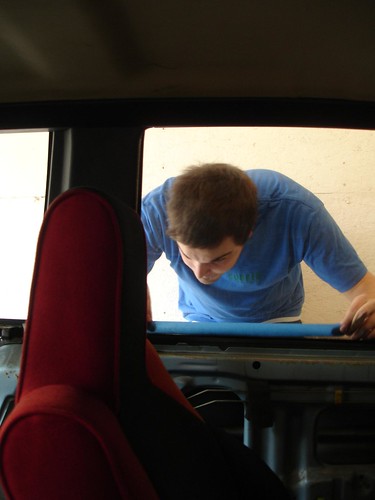
Seats
I've got a Recaro racing seat for the driver's side. Seeing Shawn's seat I gave him my S14 seats that came with the car because I really didn't need them. I swapped his s13 seats for my S14 seats. Yay? Not really a gain on my part...
Still a few more things here and there to fix, but the most of the small headaches are gone! Upgrades coming soon!
things to fix/upgrade
- battery tie down
- power steering pump / powersteering belt
- air conditioning core
- radiator support
- fan shroud
- brake pads/rotors
- S14 VLSD
- S14 seatbelts
- Stance GR+ Coilovers
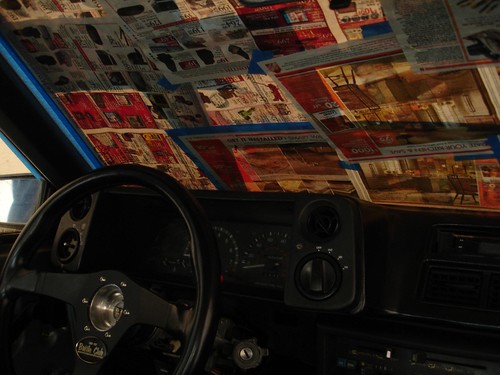
- front windshield
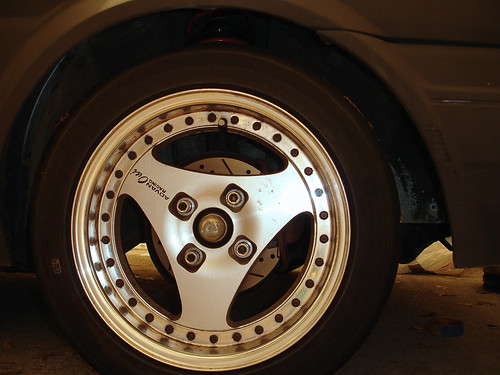
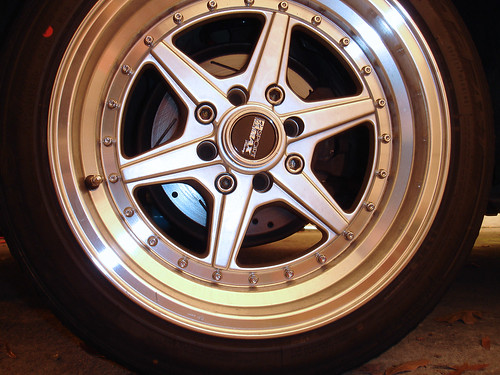
- wheels
- debadge rear
- remove side moldings
- led tail lights
- aero
- repaint